OK Paola has asked me to do a post on Soap Making. You will definitely notice the difference in writing style between her posts and mine! So here goes:
Why Soap Making?
Well, for several reasons. First, that is just the kind of people we are. We like DIY stuff and learning new things. Paola does a great job with this in the kitchen, and it is a rare project that will find me hiring a professional. I really enjoy researching a particular problem and solving it myself. I guess I get "high" on the "DIY Rush"! I also enjoy things that involve a good bit of science and believe it or not, there is a good bit of chemistry involved in Soap Making. Further, we are trying little by little to move toward healthier, natural living, and any opportunity we can get to cut out chemicals & preservatives, is a welcome opportunity. Lastly, since we are starting on our adoption journey, we saw some potential here to do some fund raising. Certainly not looking for a career change, but if we can make a buck or two towards our adoption fund, and make people happy at the same time, why not explore it.
How does one make soap?
Well, there are plenty of sites out there that discuss the process in detail, so I'll try to just give the high level details. Soap is made by combining most any fat or oil with a very basic (high pH) solution. When the two get together, the solution is said to saponify or turn to soap. You can add colors, exfoliants, and scents along the way. To make the basic solution involves mixing Lye (Sodium Hydroxide) with water. This part of the operation is somewhat hazardous as the Lye is very caustic, but be smart about it and no problems. Usually you combine various oils & fats to change the nature of the soap. More/less cleansing, more/less lather, harder or softer, etc. Like most anything in life, different soaps meet different needs. You can also add various essential and fragrance oils. Many have aroma therapy value (not that I am big into aroma therapy, but for those of you who are), and some have other medicinal values (Tea Tree Oil is a good antibacterial). Finally, there is an artsy side to soapmaking, different colors, swirlies, etc. that make a very attractive product. Being the practical kind of guy that I am, I'm not sure I'll ever get to that point, but I mention it for those of you who can see themselves enjoying this aspect. If anybody wants more detail, feel free to contact me, but a quick Google search will get you started.
My first experience
Well, I was home alone with the kids for the weekend (Paola was off to a conference in Orlando) and I had just put the kids down for a nap. That is what is known as "Me Time" in parenting lingo! I had already purchased the necessary ingredients and made a soap mold out of scrap wood in the garage (remember DIY!). So I figured the time was as good as any, and I can surprise my Honey when she gets back.
 |
| Nap Time! (aka ME Time!) |
 |
| Home made soap mold. |
 |
| Put all the oils in the crockpot on low till they melt. |
 |
| The recipe I used - Yes, there is an app for that! |
Step 2. Mix the Lye with the water. This is the dangerous part, so wear your gloves and eye protection. Measure out the exact amount of Lye and slowly add it to the water. Keep stirring, it will get really hot. Once you are done, you have your Lye water and are ready to mix it into the oils.
 |
| Wear your PPE! |
 |
| Measuring the Lye |
 |
| Lye water ready to mix with oils |
Step 3. Before mixing, I let the Lye water cool a bit and lined my mold with wax paper. To avoid folded corners, I cut squares out of the wax paper and then taped the edges to the mold to keep it in place. I was worried about soap getting behind the paper, but it all worked amazingly well.
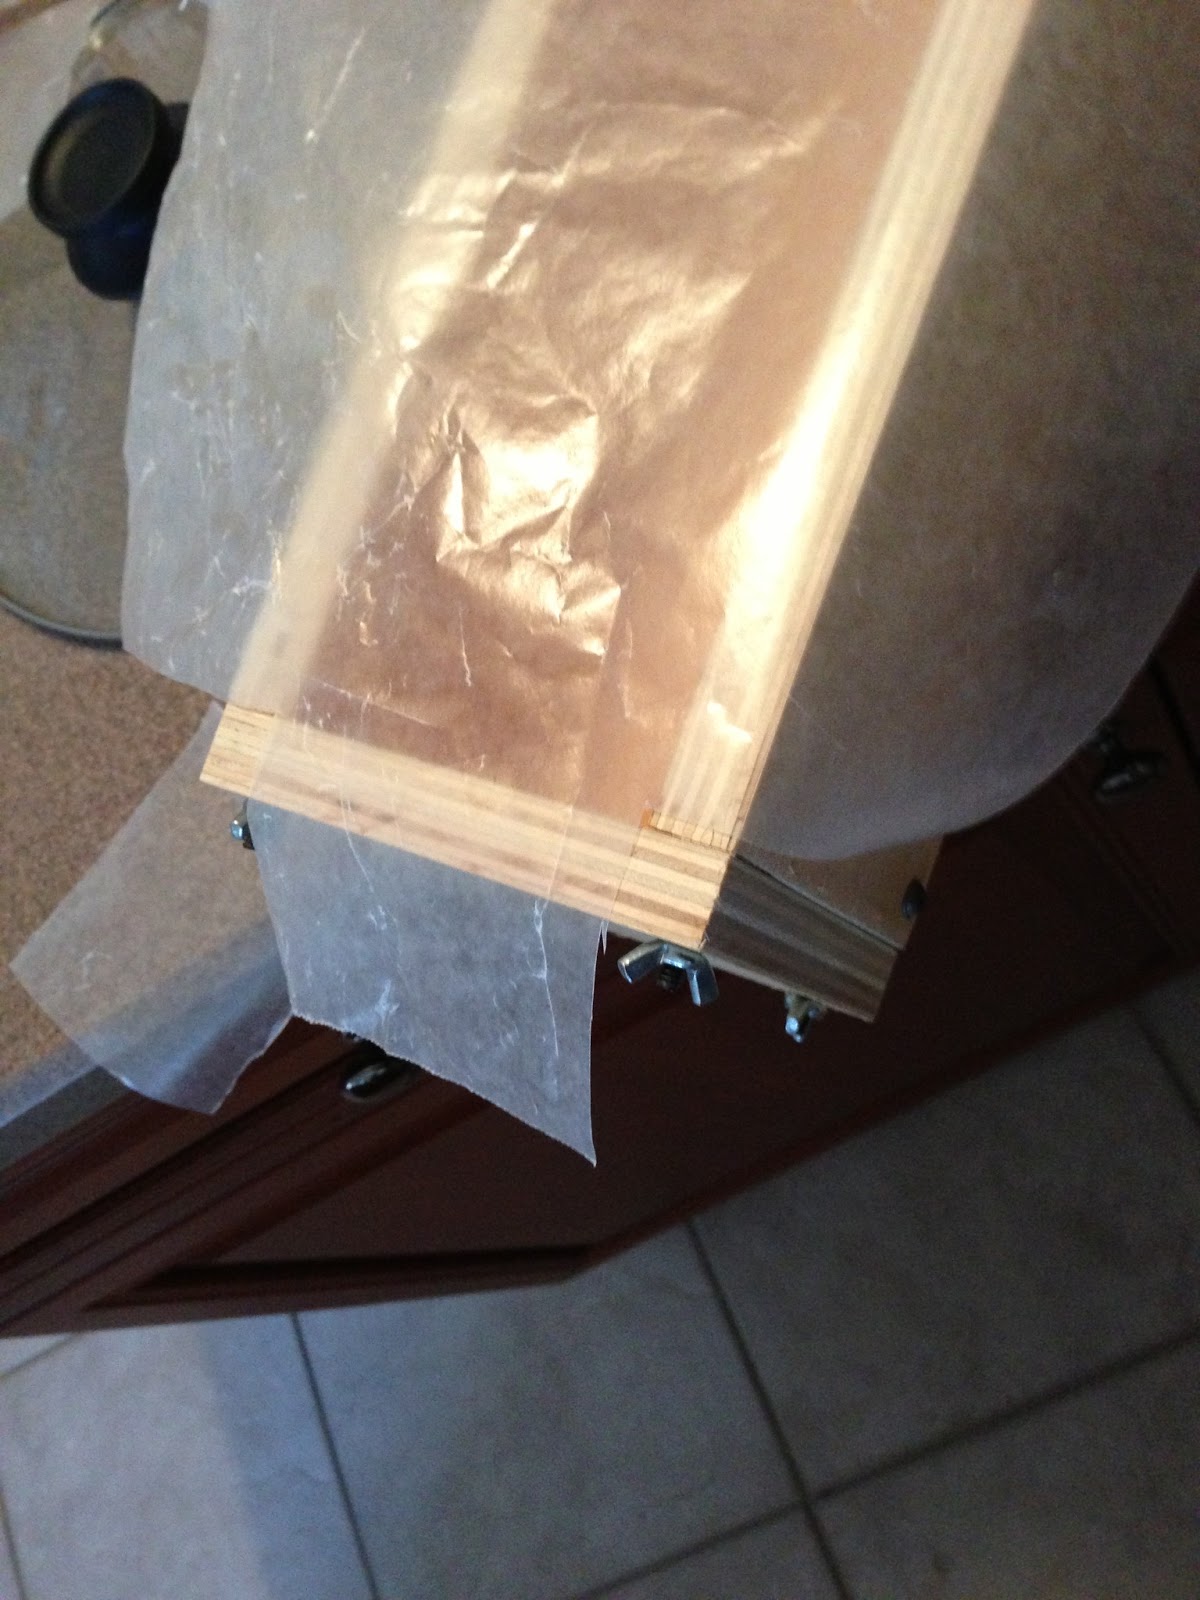 |
| Cut out corners so paper would fold nicely into mold |
 |
| Gratuitous picture of our second son who woke up by now. He was nowhere near the mixing! Note the paper taped to the mold. |
Step 4. Mix the ingredients till you get to "trace" (thickens till you can see trace marks on the surface). For this you use a cheap hand blender. With the hand blender this takes about 5-10 minutes. Keep going till the ripples on the surface no longer fade away quickly.
 |
| Mix to "trace" with hand blender |
 |
| Here it is bubbling up. |
Step 7. Pour it into the mold and let it harden over night.
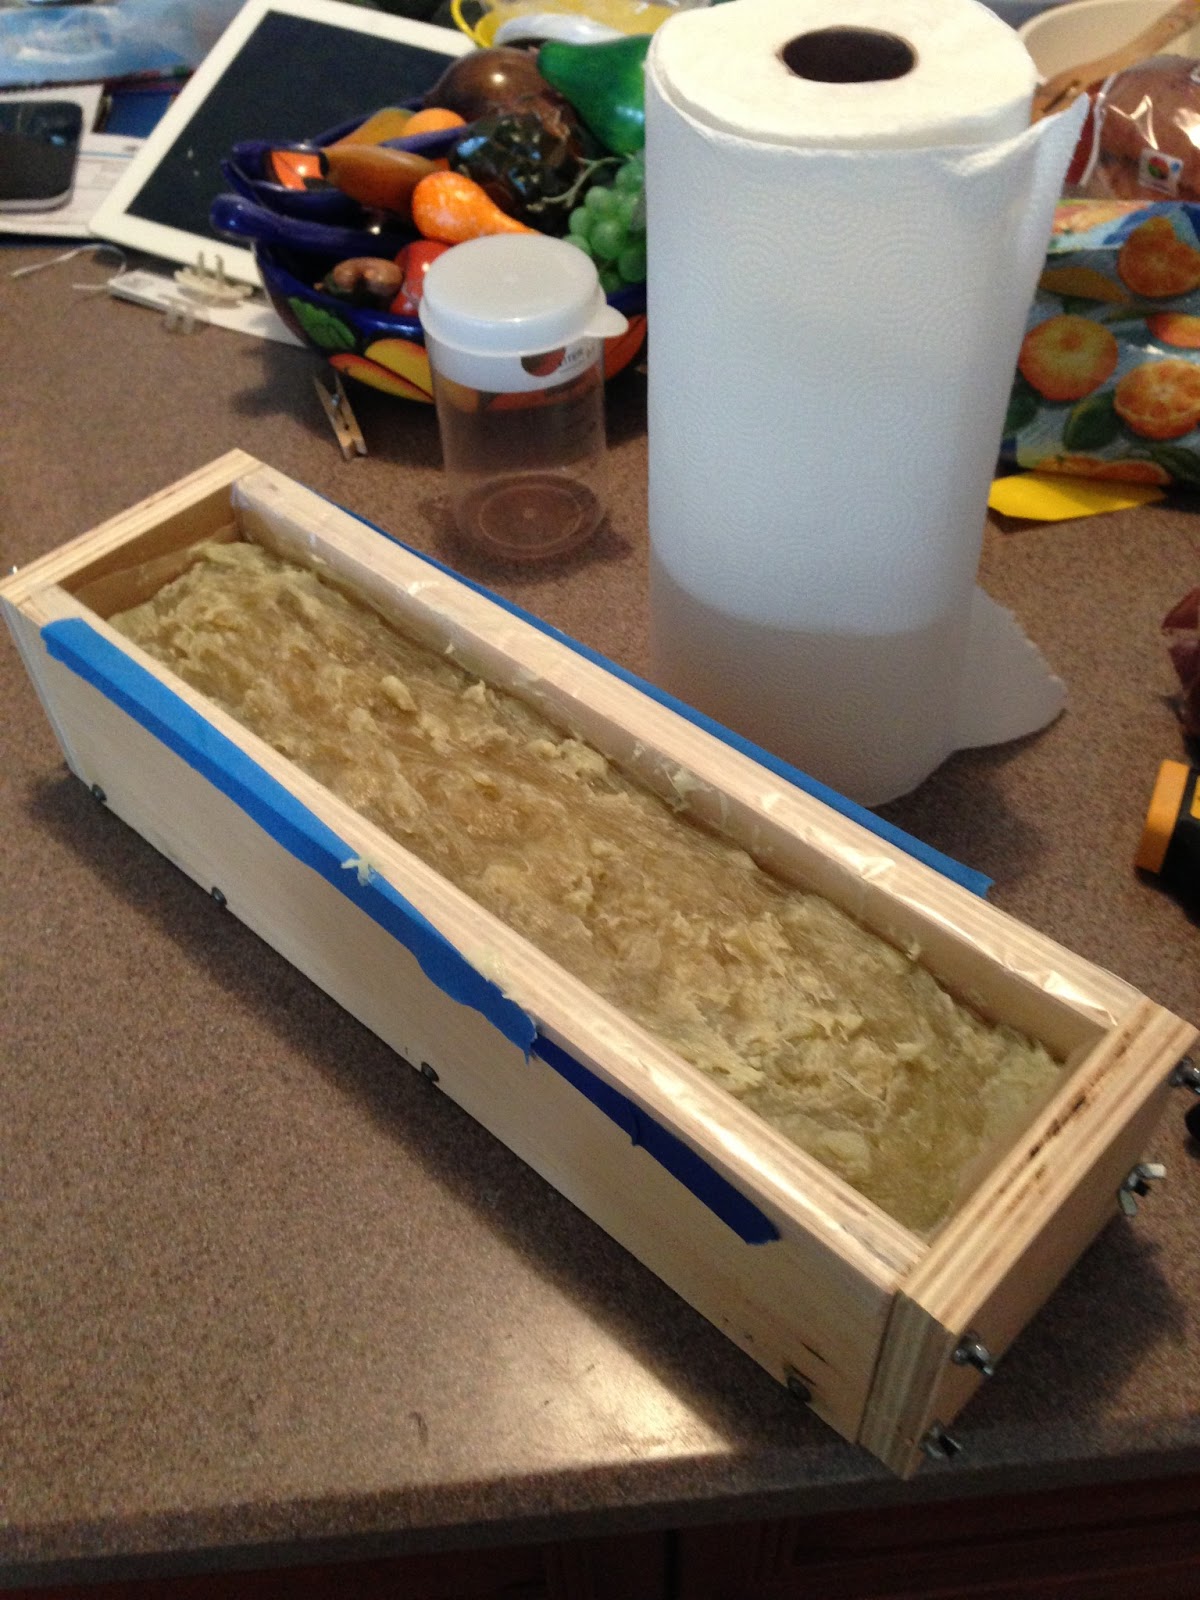
Step 8. Take it out of the mold and cut it up.
 |
| Soap Loaf |
 |
| Cut into bars |
Impressions
I was really impressed how well my first attempt turned out. It has both Tea Tree & Lemongrass Oils that make it antiseptic and it smells great. Also, it lathers up nicely and seems to moisturize my skin a little. Not that I am a great judge of that being a guy and never really having cared. If anybody is interested, we still have a few bars left at $4 each (which is a bargain for home made soap, I just saw $8 for a bar today), and remember, it is for a good cause (our adoption fund)!
I'm thinking of making an Oatmeal, milk, & Shea butter based soap next time. The oatmeal is supposed to be a good mild exfoliant and the Shea Butter is supposed to be a great moisturizer and general skin care agent. Also, I'm looking to make a mild soap for babies. So many friends have kids that I figure it might be a good seller!
Anyway, that is it for my first batch of soap and my first blog post. Hope you enjoyed and let me know if you have questions.
No comments:
Post a Comment